The Ultimate Guide to Safe Rodent Dropping and Urine Cleanup: Protecting Your Health
Dealing with rodent infestations is unpleasant, and one of the most concerning aspects is the waste they leave behind. A single mouse can produce a staggering amount of droppings – up to 75 pellets per day! Rodent droppings and urine aren’t just unsightly and odorous; they pose significant health risks. They can carry a range of harmful diseases, making proper and safe cleanup essential for protecting yourself and your family. This comprehensive guide will walk you through the necessary steps to safely and effectively clean up rodent refuse and minimize your risk of exposure to dangerous pathogens.
Understanding the Risks: Why Safe Rodent Waste Cleanup is Crucial
Rodent droppings and urine can transmit various diseases, including:
- Hantavirus Pulmonary Syndrome (HPS): A severe respiratory illness transmitted through inhalation of airborne particles from rodent urine, droppings, and saliva. HPS can be fatal.
- Salmonellosis: A bacterial infection causing diarrhea, fever, and abdominal cramps, often contracted through contact with contaminated rodent feces.
- Leptospirosis: A bacterial infection spread through contact with rodent urine, causing flu-like symptoms and potentially leading to kidney damage and liver failure.
- Rat-Bite Fever: Transmitted through bites or scratches from rodents, or contact with contaminated rodent feces or urine, causing fever, rash, and joint pain.
- Allergens: Rodent urine and droppings can also trigger allergic reactions and asthma in sensitive individuals.
Because of these serious health risks, it’s vital to approach rodent waste cleanup with caution and follow specific safety procedures. Simply sweeping or vacuuming is not safe and can actually increase your risk of inhaling harmful particles.
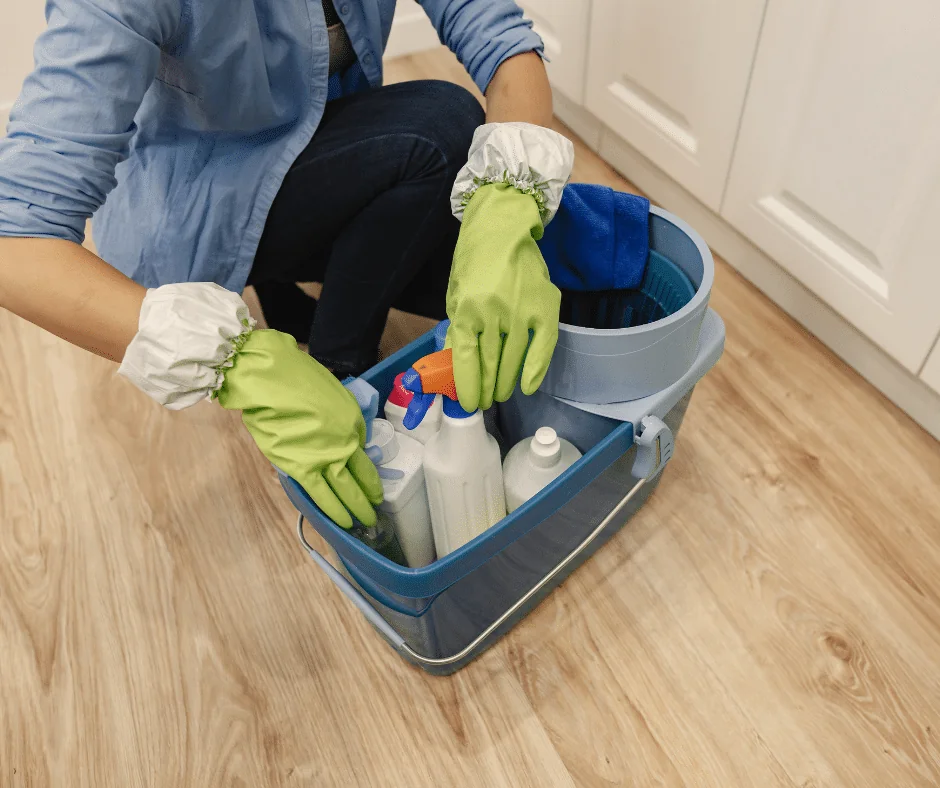
Essential Supplies Checklist: Gathering Your Cleaning Arsenal
Before you begin cleaning, gather all necessary supplies to ensure your safety and effective disinfection. Here’s a complete checklist:
- Personal Protective Equipment (PPE):
- Respirator or Mask (N95 or higher): Crucial for preventing inhalation of airborne particles. A simple dust mask is not sufficient. An N95 respirator or higher is recommended.
- Heavy-Duty Rubber or Disposable Gloves: Essential for preventing direct skin contact with rodent waste and disinfectants. Choose thick, non-porous gloves.
- Optional: Eye Protection (Goggles or Safety Glasses): While not always necessary, eye protection can further minimize exposure, especially if you are cleaning in dusty or enclosed areas.
- Disinfecting and Cleaning Solutions:
- Bleach Solution (Freshly Prepared): Mix 9 parts water to 1 part household bleach. This is a highly effective disinfectant for hard, non-porous surfaces. Always mix bleach with water in a well-ventilated area and never mix bleach with ammonia or other cleaners, as this can create toxic fumes.
- Commercial Disinfectant Cleaner: Alternatively, you can use a commercial disinfectant cleaner specifically labeled for use against viruses and bacteria. Ensure it is effective against the pathogens associated with rodents.
- Commercial-Grade Carpet and Upholstery Shampoo (Enzyme-Based): For carpets and upholstery, choose a shampoo specifically designed for pet stains. These often contain enzymes that break down urine and fecal matter effectively.
- Baking Soda: A natural odor absorber and neutralizer, helpful for deodorizing after cleaning.
- Cleaning Tools:
- Spray Bottles (for Bleach Solution and Disinfectant): For applying disinfectant solutions to surfaces
- Paper Towels: For wiping up waste and applying disinfectant to hard surfaces. Use disposable paper towels to avoid cross-contamination.
- Mop or Sponge: For cleaning floors and larger hard surfaces with disinfectant. Use a disposable mop head or sponge, or thoroughly disinfect reusable ones after use.
- Trash Bags (Heavy-Duty): For disposing of contaminated waste and cleaning materials. Use sturdy trash bags to prevent leaks and double-bag contaminated materials.
- Ventilation Aids:
- Fans (Optional): To enhance ventilation and airflow, especially in enclosed spaces.
- Open Windows and Doors: Maximize natural ventilation whenever possible.
Step-by-Step Guide to Cleaning Rodent Waste Safely
Phase 1: Preparation and Ventilation (Crucial First Steps)
- Ventilate the Area Thoroughly: Before you begin cleaning, open windows and doors to create cross-ventilation in the affected area. Leave the area to ventilate for at least 30 minutes, and ideally longer if possible. This pre-ventilation period helps to reduce the concentration of airborne particles and pathogens. If possible, use fans to further enhance airflow.
- Gather and Prepare Supplies: Collect all items from the checklist above and have them readily accessible before you begin. Prepare your bleach solution or disinfectant cleaner according to product instructions.
- Don Your Protective Gear: Put on your respirator or mask first, ensuring a tight seal around your face to prevent inhalation. Then, put on your rubber gloves, ensuring they are pulled up over your sleeves to prevent skin exposure.
Phase 2: Cleaning Hard Surfaces (Floors, Walls, Countertops, etc.)
- Never Vacuum or Sweep Dry Droppings: Vacuuming or sweeping dry rodent droppings or urine can aerosolize particles, increasing the risk of inhaling pathogens. Avoid these methods entirely for initial cleanup.
- Disinfect First:
- Spray Liberally: Using a spray bottle, thoroughly spray the affected hard surfaces (floors, walls, baseboards, countertops, shelves, etc.) with your bleach solution or disinfectant cleaner. Saturate the area, ensuring all visible droppings and urine stains are thoroughly wetted.
- Wait to Disinfect: Allow the disinfectant solution to sit on the surfaces for at least 5-10 minutes. This “wet contact time” is crucial to allow the disinfectant to effectively kill viruses and bacteria. Refer to the disinfectant product label for specific contact time recommendations.
- Wipe Up and Dispose: Using paper towels, carefully wipe up the disinfectant solution and rodent waste. Pick up any solid droppings with paper towels and wipe away urine stains. Avoid scrubbing, which can aerosolize particles. Gently wipe.
- Dispose of Contaminated Materials: Place all used paper towels and solid waste directly into a heavy-duty trash bag. Seal the bag tightly immediately after use.
- Disinfect Again (Clean and Sanitize): Mop or sponge-clean the disinfected surfaces again with fresh disinfectant solution. This second cleaning step ensures thorough sanitization.
- Final Rinse (Optional): For surfaces where bleach residue is a concern, you can rinse with clean water after the disinfectant has been applied and allowed to air dry.
- Wash Gloves: While still wearing gloves, thoroughly wash the outside of your gloves with soap and water.
- Remove Gloves and Wash Hands: Carefully remove your gloves, turning them inside out as you take them off to minimize skin contact. Immediately wash your hands thoroughly with soap and water for at least 20 seconds.
Phase 3: Cleaning Carpets, Rugs, and Upholstery
- Avoid Dry Vacuuming Initially: Similar to hard surfaces, avoid dry vacuuming initially as it can spread contaminated dust.
- Steam Cleaning or Wet Shampooing is Recommended:
- Ventilate and Protect: Ensure the area is well-ventilated and you are wearing your mask and gloves.
- Pre-treat Stains (Optional): For visible urine stains, you may pre-treat with an enzyme-based pet stain remover according to product directions before shampooing.
- Shampoo Thoroughly: Using a commercial-grade carpet or upholstery shampoo (preferably enzyme-based), clean the affected carpets, rugs, and upholstery according to the shampoo product label directions. Focus on areas with visible stains or suspected contamination.
- Hot Water Extraction (Ideal): If using a carpet cleaning machine, use hot water extraction to maximize cleaning and pathogen removal.
- Dry Thoroughly: Ensure carpets and upholstery are completely dried after cleaning to prevent mold growth. Use fans to speed up drying time.
- Vacuum After Drying: Once completely dry, vacuum the cleaned carpets and upholstery with a vacuum cleaner equipped with a HEPA filter if possible. This helps to remove any remaining debris and allergens.
Phase 4: Cleaning Fabric Items (Washable Clothing, Bedding, etc.)
- Launder with Hot Water and Detergent:
- Wear Gloves: Handle contaminated fabrics while wearing rubber gloves.
- Wash in Hot Water: Wash clothing, bedding, plush toys, and other washable fabric items in a washing machine using hot water and laundry detergent. Hot water and detergent are effective in killing many pathogens.
- High Heat Drying: Dry items in a clothes dryer on high heat for at least 30 minutes. High heat further aids in disinfection.
- Sun Drying (Alternative): If machine drying is not possible, hanging items outdoors in direct sunlight for several hours can also help to disinfect and deodorize.
- Wash Gloves and Hands: Wash your gloves with soap and water and then remove gloves and wash your hands thoroughly after handling contaminated laundry.
Phase 5: Disinfecting Non-Washable Items (Books, Documents, etc.)
For items that cannot be washed with water or liquid cleaners, consider these disinfection options:
- Sunlight Exposure: Place non-washable items in direct sunlight for several hours (ideally for a full day if possible). UV radiation from sunlight can help to kill some germs.
- Freezing: Seal non-washable items in airtight plastic bags and place them in a freezer (at or below 0°F or -18°C) for several days (at least 2-3 days, longer is better). Freezing temperatures can kill some pathogens.
- Quarantine (Longest but Safest for Delicate Items): If sunlight and freezing are not suitable or sufficient, quarantine non-washable items in a mouse-free location for several weeks (at least 4-6 weeks). This extended quarantine period allows for natural die-off of many pathogens.
When to Consider Discarding Items:
If an item is heavily contaminated with rodent waste, porous, or cannot be effectively disinfected using any of the methods above, it may be necessary to discard it to eliminate health risks, especially items that have been directly soiled by rodent urine or droppings and are difficult to clean.
Final Steps: Waste Disposal and Prevention
- Double Bag Contaminated Waste: Seal the trash bag containing contaminated paper towels, gloves, and solid waste tightly. Then, place that bag inside another heavy-duty trash bag and seal the second bag securely.
- Dispose of Waste Properly: Dispose of the double-bagged trash in accordance with your local waste disposal regulations.
- Deodorize (Optional): After cleaning and disinfection, you can sprinkle baking soda on carpets and upholstery or place bowls of baking soda in the cleaned area to help absorb any lingering odors. Vacuum up baking soda after several hours or overnight.
- Focus on Rodent Control and Prevention: The most important step after cleanup is to address the underlying rodent infestation to prevent future problems. Implement rodent control measures such as sealing entry points, removing food sources, and considering professional pest control to prevent re-infestation and future waste cleanup needs.
Rodent Remediation:
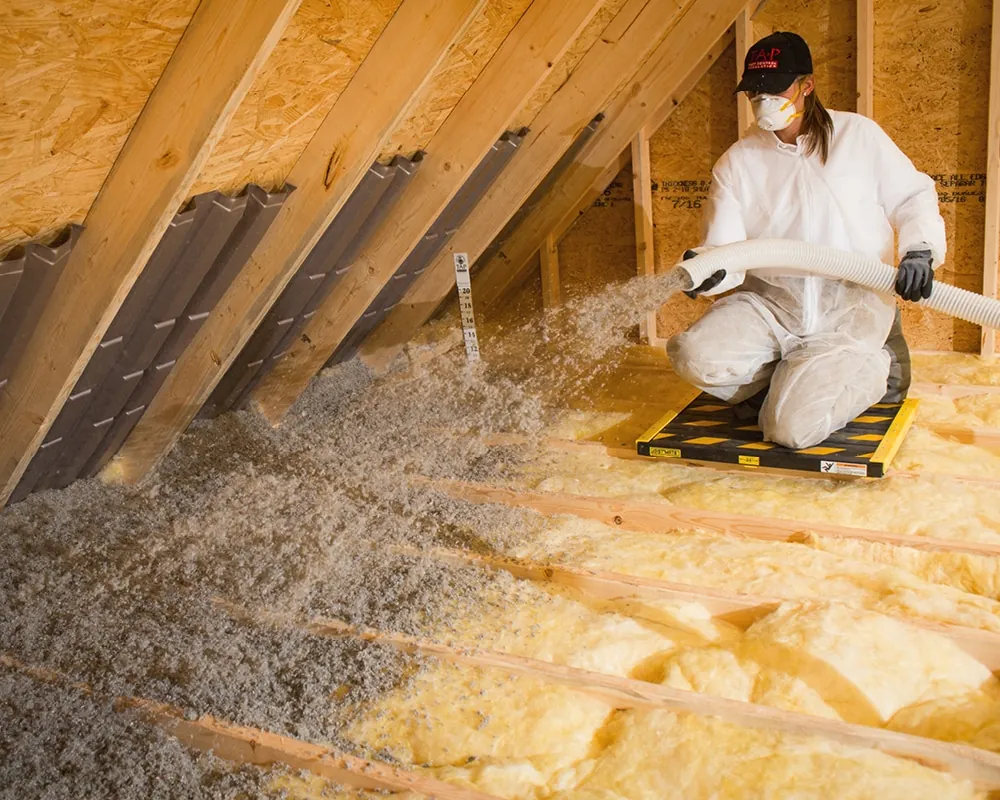
If your rodent infestation is severe, or if you simply would prefer to have someone else take care of it, Modern Pest Services offers remediation services custom-tailored to your needs. Our Remediation Service includes waste removal, surface cleaning, sanitizing, and deodorizing. In cases where insulation is too soiled with animal waste to be cleaned, we offer TAP insulation. TAP, which stands for Thermal Acoustical Pest Control, is an efficient, EPA-approved insulation made from recycled paper and a borate- based pest control. TAP can be used to replace existing insulation or simply applied on top to help keep pests from coming back. Click here to learn more about TAP and our remediation services